How Do You Make a Vacuum Cleaner? Step by Step Guide
Creating your own vacuum cleaner can be a rewarding project that ignites your curiosity and enhances your understanding of engineering principles. Whether you’re a DIY enthusiast or just looking to strengthen your skills, this guide will walk you through the process with a friendly touch. Let’s dive into how to make a vacuum cleaner step by step!
Understanding the Basics of a Vacuum Cleaner
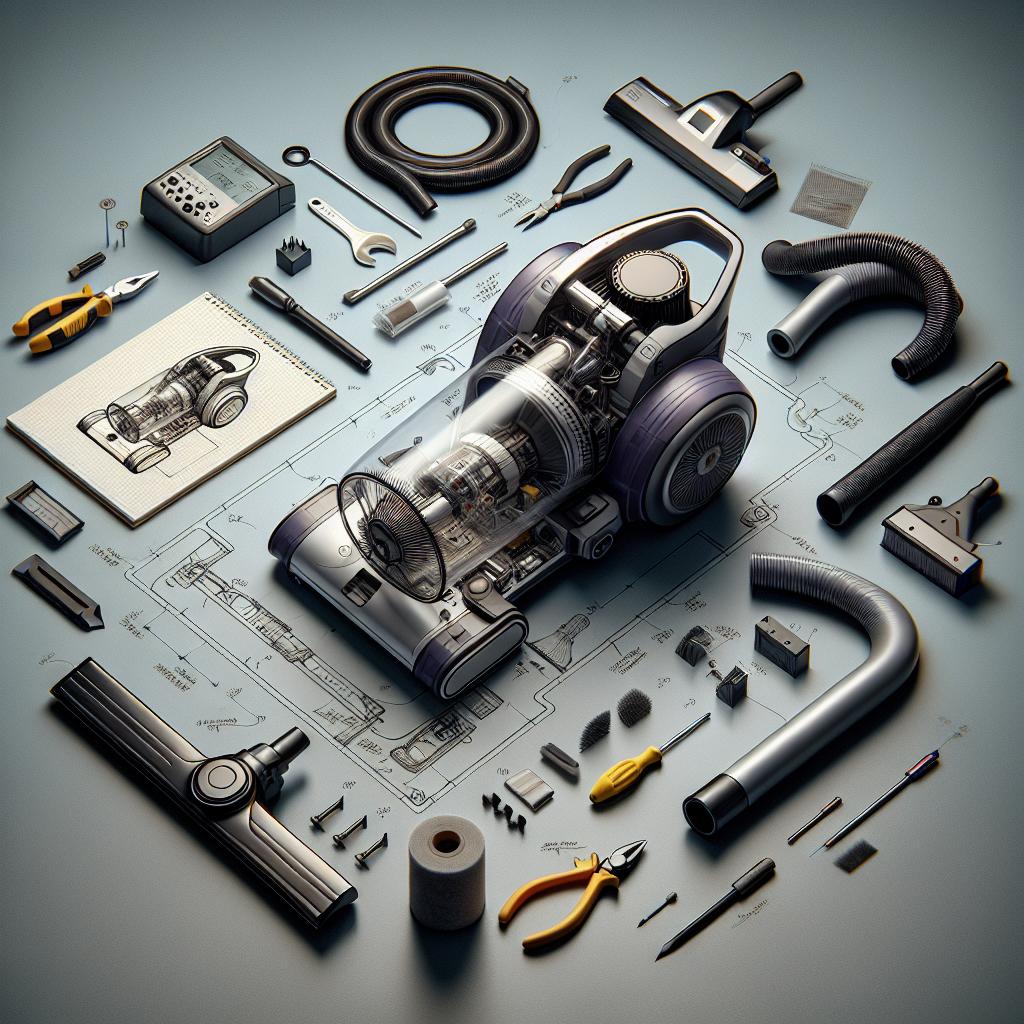
Before embarking on this journey, it’s important to grasp the fundamental components of a vacuum cleaner. At its core, a vacuum cleaner uses suction to remove dirt and debris from surfaces. Here are the main parts you’ll need:
- Motor: Generates suction.
- Fan: Helps create airflow.
- Dust Container/Bag: Collects dirt and debris.
- Filter: Prevents dust from escaping.
- Hose and Attachments: Allows flexibility for cleaning various surfaces.
Step-by-Step Instructions to Make Your Vacuum Cleaner
Step 1: Gather Your Materials
To create your vacuum cleaner, you need to collect some essential materials. Here’s a list to get you started:
- An electric motor (preferably a small one)
- A fan (such as a computer cooling fan)
- A plastic container or an old vacuum bag
- Filter material (such as HEPA or foam filters)
- A hose (you can use a flexible tubing from an old vacuum)
- A switch and wires
- Tape or glue for assembling the parts
- Optional: wheels for mobility
Step 2: Prepare the Container
Choose your plastic container carefully, as it will serve as the body of your vacuum cleaner. Ensure it’s airtight for better suction. Here’s how to prepare it:
- Drill a hole: At the center of the lid, drill a hole that fits snugly around the hose. This is where your suction will flow out.
- Add an air intake: If your container is tall, consider adding another hole at the bottom for the air to be sucked in.
Step 3: Install the Motor and Fan
Now it’s time to install the motor and the fan. This is crucial for generating suction.
- Attach the fan: Secure the fan to the motor shaft. Make sure it’s tightly fit – you might want to use glue or screws depending on your motor type.
- Mount the motor: Place the motor inside your container and secure it. This will be most effective if the motor is positioned directly below the hose.
Step 4: Create a Dust Collection System
Your dust collection system is vital for trapping dirt and keeping your space clean.
- Modify the dust container: If you’re using a plastic container, line it with the filter material.
- Connect the fan and the container: Ensure the fan is aligned with the inlet hole and leads directly to your collection system. The fan should draw air straight into the container.
Step 5: Assemble the Hose and Attachments
- Connect the hose: Insert one end of the hose into the hole you drilled in the lid of the container.
- Seal it: Use tape or a sealant to ensure there are no air leaks around the connection.
- Optional attachments: If you want to clean different surfaces, consider creating attachments out of additional plastic or old attachments you may have at home.
Step 6: Wiring the Motor
Safety first! Before working on the wiring, make sure everything is powered off.
- Connect wires: Attach wires to the motor. One wire should go to the switch, and the other directly to the power source.
- Install the switch: Place the switch somewhere accessible, allowing you to control the vacuum cleaner easily. Ensure it is properly insulated.
Step 7: Test Your Vacuum Cleaner
Now comes the moment of truth!
- Power it on: Switch the vacuum on and listen for any unusual noises.
- Check suction: Place your hand near the hose to feel the suction. If it’s weak, re-evaluate your connections and seals for leaks.
Step 8: Final Touches
To improve the functionality and aesthetics of your vacuum cleaner, consider adding:
- Casters or wheels for easier mobility.
- A more sophisticated filtration system, if necessary.
- A handle for comfortable usage.
Tips for Success
- Test components before assembly: Ensure your motor and fan function properly before putting them together.
- Safety precautions: Always work with electricity safely; wear protective gear if necessary.
- Keep it simple: Start with a basic design before adding more features or modifications.
Common Mistakes to Avoid
- Neglecting air leaks: Any gaps in your vacuum cleaner can reduce suction significantly. Make sure all connections are tight.
- Overlooking safety: Always ensure the device is unplugged when making adjustments or repairs.
- Using an unsuitable motor: Ensure the motor is powerful enough to generate sufficient suction.
Building your own vacuum cleaner can be an exciting and educational project! By following these step-by-step instructions, gathering the right materials, and avoiding common pitfalls, you’ll not only create a functional vacuum cleaner but also gain valuable DIY skills. Good luck, and happy building!
Frequently Asked Questions (FAQs)
Q. How do you gather the materials needed to make a vacuum cleaner?
A. Start by collecting the essential components: a motor, a fan, a dust container (like a bag or bin), a filter, a casing, a hose, and a power source (either battery or plug). You might also need various tools such as a screwdriver, duct tape, and wires for connections.
Q. What is the first step in assembling the vacuum cleaner?
A. Begin by setting up the motor and fan assembly. Secure the motor to the base of your vacuum cleaner casing using screws. Then, attach the fan to the motor shaft to ensure it can create suction effectively.
Q. How do you create the dust collection system?
A. Choose a dust container type (bag or bin) that suits your needs. If using a bag, ensure it fits snugly inside the casing, making space for airflow. If using a bin, ensure it seals well with the casing and has an outlet for air to pass through the filter.
Q. What role does the filter play in the vacuum cleaner?
A. The filter is crucial for trapping dust and allergens before air is expelled back into the environment. Install it between the dust container and the motor to ensure that all air traveling from the dust container passes through the filter.
Q. How do you connect the hose and attachments?
A. Attach the hose to the inlet on the vacuum cleaner casing. Ensure a tight fit, potentially using tape or clamps to prevent any air leaks. You can attach additional accessories like brush heads or crevice tools to the end of the hose for versatile cleaning capabilities.
Q. How do you power the vacuum cleaner?
A. If using a plug-in motor, connect it to a power cord that can be plugged into an outlet. If you’re going for a cordless design, install your chosen rechargeable battery securely in the casing and ensure connections to the motor are well insulated.
Q. What safety precautions should be taken during assembly?
A. Always wear safety goggles to protect your eyes from debris. Ensure the power source is disconnected while assembling, and be cautious of sharp tools and edges during construction to avoid injuries.
Q. How do you test the vacuum cleaner for functionality once assembled?
A. Plug in the vacuum or charge the battery, then turn it on and check for suction strength. Observe if any unusual noises arise or if air leaks occur, indicating that adjustments might be necessary. If it functions well, you can proceed with cleaning tasks confidently.
Related Articles
How Are Vacuum Cleaner Made Step By Step
That satisfying hum as your vacuum effortlessly devours dust feels like simple magic, doesn’t it? We rely on these household heroes daily, yet r…
Who Created the Vacuum Cleaner
Ever wondered about the unsung hero battling dust bunnies in your home? The story of the vacuum cleaner is far more intricate than a single eureka mom…
Leave a Reply