Replacing your router antenna is a straightforward process that can help improve your Wi-Fi signal. Here’s a step-by-step guide to help you:
- Unplug the router from the power source.
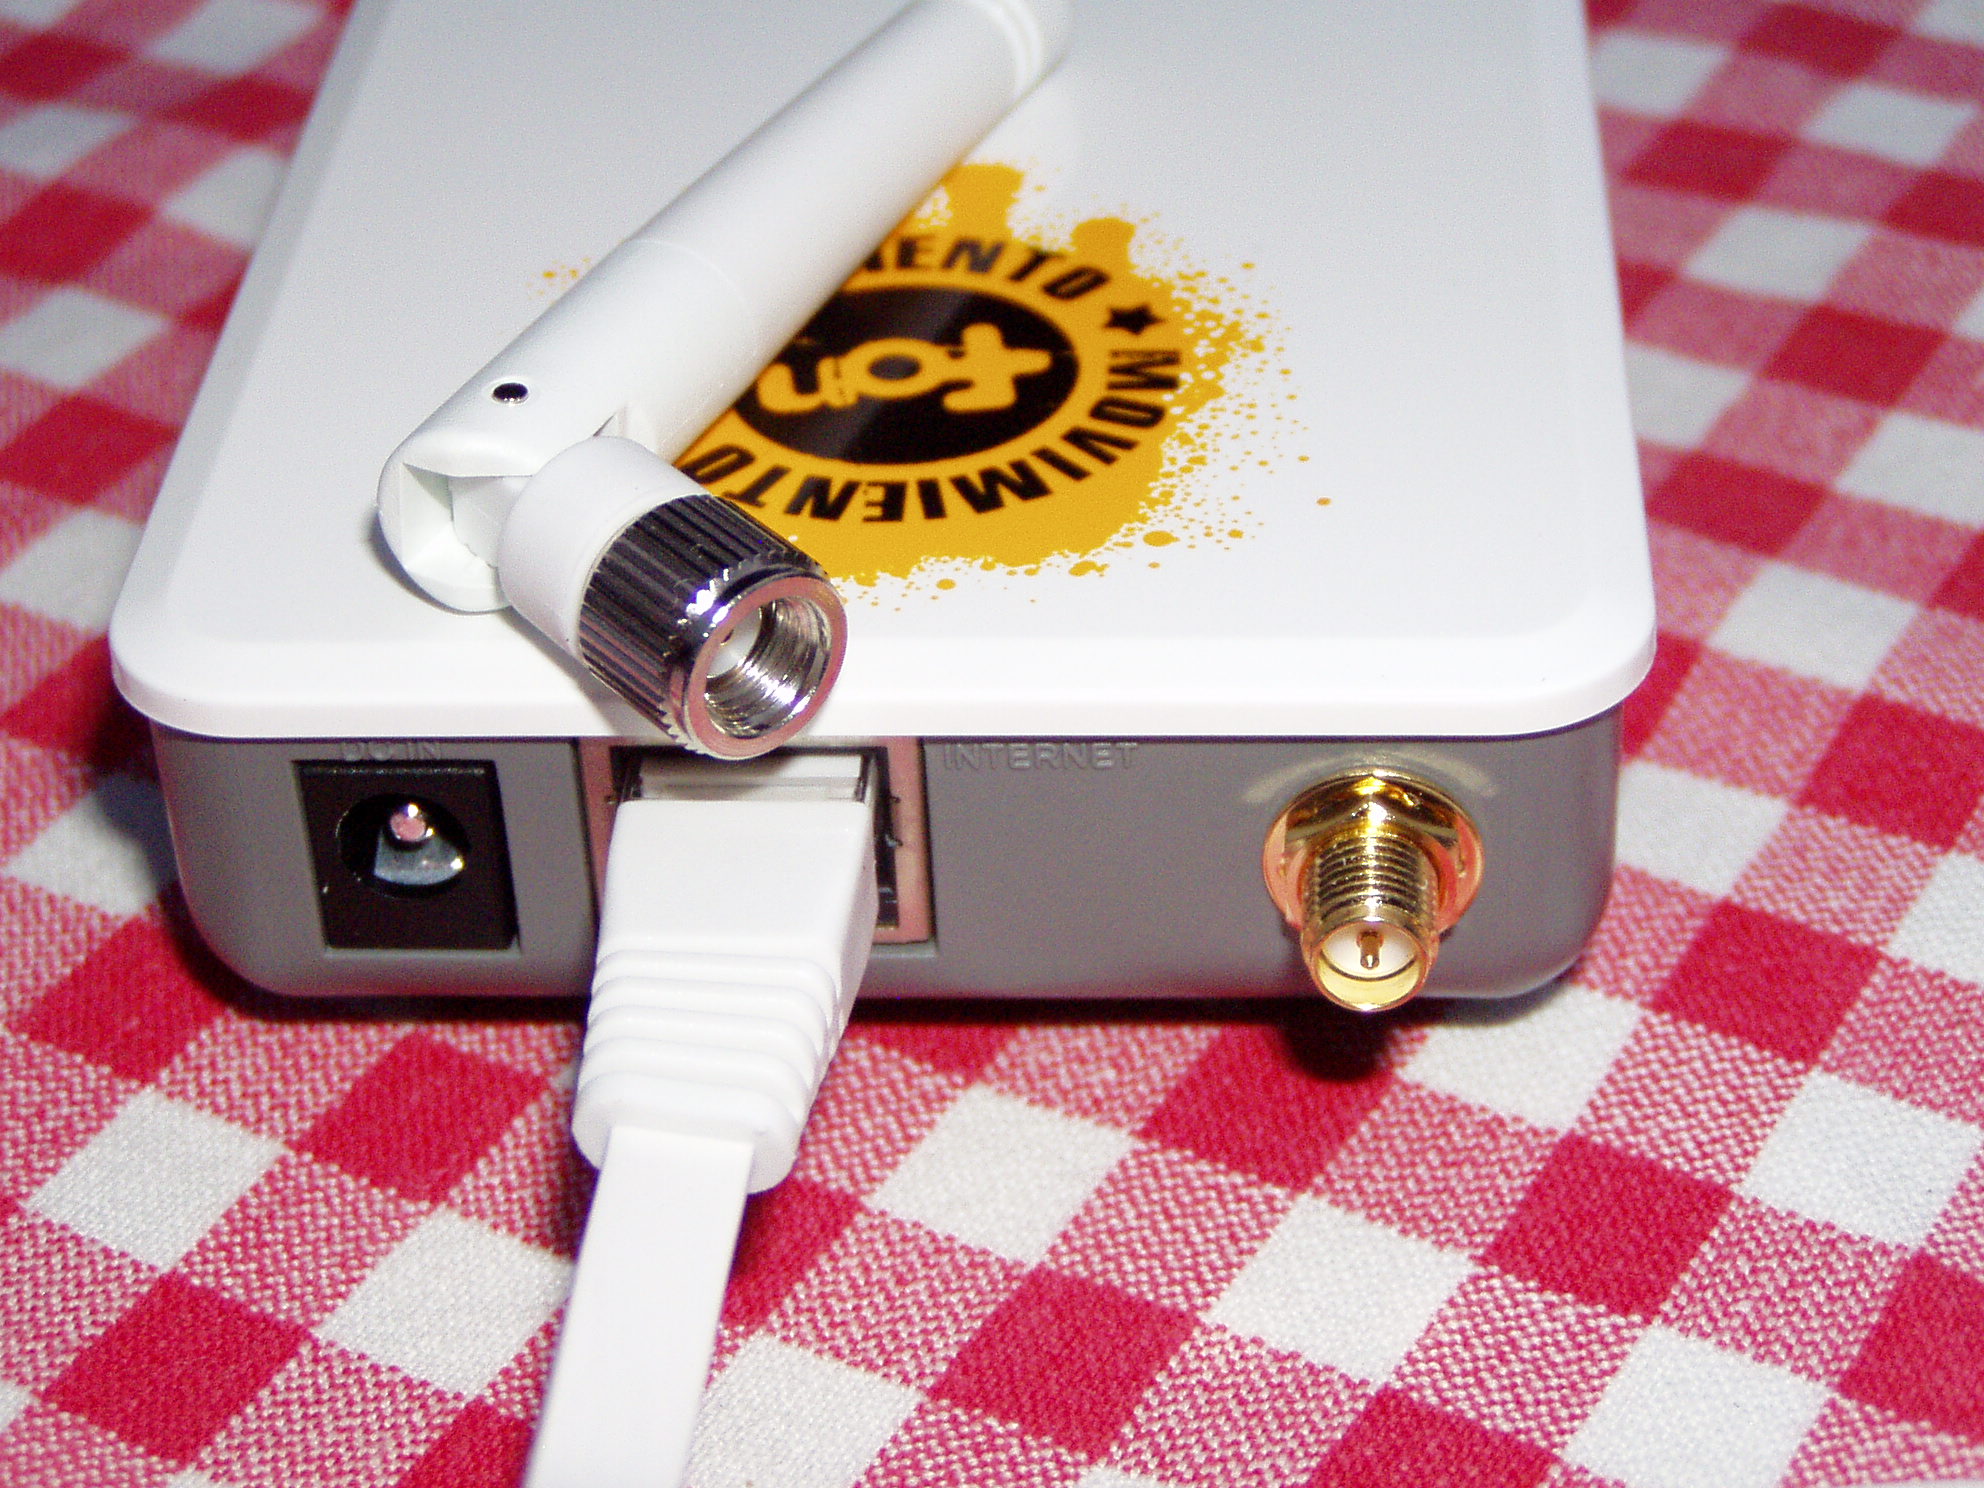
- Locate the antenna connectors on the back of the router.
- Gently unscrew the existing antenna in a counterclockwise motion.
- Align the new antenna with the connector and screw it in clockwise.
- Ensure the antenna is securely attached but avoid overtightening.
- Plug the router back into the power source and test the Wi-Fi signal strength.
When it comes to optimizing Wi-Fi signals, replacing the router antenna can make a significant difference. Did you know that a router’s antenna plays a crucial role in transmitting and receiving signals, ultimately affecting the range and performance of your network?
To replace a router antenna, start by locating the antenna connection point on your router. Most routers have a detachable antenna that can be easily unscrewed. Once you have removed the old antenna, simply screw in the new antenna firmly to ensure a stable connection. Remember to select an antenna that is compatible with your router model for optimal performance.

Understanding Router Antennas
If you’re experiencing weak or spotty Wi-Fi signals in your home or office, one effective solution is to replace your router antenna. Router antennas are responsible for transmitting and receiving wireless signals, and a damaged or poorly performing antenna can significantly affect your internet connection. In this article, we will guide you through the process of replacing your router antenna, providing you with the necessary knowledge and steps to optimize your Wi-Fi signal.
Before we dive into the steps of replacing a router antenna, it’s essential to understand the different types of antennas commonly used in routers. Most routers have one or two external antennas that can be unscrewed and replaced. These antennas are typically omnidirectional, meaning they emit and receive signals in a 360-degree pattern. Some routers may also have internal antennas, which are built into the device and cannot be replaced. It’s crucial to check your router’s specifications to determine the type of antenna it uses.
Now that you have a basic understanding of router antennas, let’s move on to the steps of replacing your antenna.
Step 1: Identify the Antenna Connector Type
The first step in replacing a router antenna is to identify the type of connector used by your router’s antenna. There are two common types of connectors: RP-SMA and SMA. RP-SMA (Reverse Polarity SMA) connectors have a male pin and a female socket, while SMA (SubMiniature version A) connectors have a female pin and a male socket.
To identify the connector type, first, locate the antenna connectors on your router. They are usually labeled “ANT” or “WLAN.” Next, unscrew the existing antenna carefully and inspect the connector on the router. If you see a male pin, it’s an RP-SMA connector. If you see a female pin, it’s an SMA connector.
Understanding the connector type is crucial because it determines the compatibility of the replacement antenna. Make sure to purchase an antenna with the correct connector type to ensure a proper fit.
If you’re uncertain about the connector type, refer to your router’s user manual or contact the manufacturer for assistance.
Step 2: Purchase a Replacement Antenna
Once you’ve identified the antenna connector type, it’s time to purchase a replacement antenna. There are various options available, ranging from standard omnidirectional antennas to high-gain directional antennas. Consider factors such as your specific needs, the size of your space, and your budget when choosing a replacement antenna.
Here are a few types of replacement antennas you may want to consider:
- Omnidirectional Antennas: These antennas emit and receive signals in a 360-degree pattern, ideal for providing coverage in all directions.
- High-Gain Antennas: These antennas have a more focused signal pattern, allowing for increased range and signal strength in a particular direction.
- Dipole Antennas: These antennas consist of two straight rods extending from a central base and are commonly used in most routers.
Research and choose an antenna that best suits your requirements, ensuring that it is compatible with your router’s connector type.
Step 3: Power off the Router
Before replacing the router antenna, it’s important to power off the router to avoid any electrical shocks or damage. Locate the power switch on your router and turn it off. Additionally, disconnect any cables connected to the router, such as the power cable and ethernet cables.
Once the router is powered off and disconnected, you can proceed to the next step.
Step 4: Remove the Existing Antenna
With the router powered off, locate the existing antenna you wish to replace. For routers with external antennas, the antennas are typically attached to the router using a screw-on mechanism. You can unscrew the existing antenna in a counterclockwise direction to remove it from the connector.
Gently rotate the antenna until it is completely detached from the connector. Set aside the old antenna for disposal or keep it as a backup.
If your router has internal antennas, unfortunately, they cannot be replaced. However, you may consider upgrading your router to one with external antennas for better signal strength and coverage.
Step 5: Attach the Replacement Antenna
Now that the old antenna is removed, take your replacement antenna and align the connector with the antenna port on the router. Carefully screw the replacement antenna onto the connector in a clockwise direction until it is securely attached.
Ensure that the replacement antenna is tightly secured to prevent any signal loss or disconnection.
Step 6: Power on the Router
With the replacement antenna successfully attached, it’s time to power on the router. Plug the power cable back into the router and turn on the power switch. Wait for the router to fully boot up and establish a connection.
Once the router is powered on, you can reconnect any other cables that were disconnected, such as ethernet cables or other wired connections.
Step 7: Test the Wi-Fi Signal
After replacing the router antenna, it’s important to test the Wi-Fi signal strength to ensure that the replacement antenna has improved the signal quality. Use your devices, such as laptops or smartphones, to connect to the Wi-Fi network and check the signal strength in different areas of your home or office.
If you notice a significant improvement in signal strength and stability, congratulations! You have successfully replaced your router antenna and optimized your Wi-Fi connection.
Frequently Asked Questions
In this section, we will provide answers to some commonly asked questions about replacing router antennas.
1. How do I know if I need to replace my router antenna?
If you are experiencing a weak or inconsistent Wi-Fi signal, it may be an indication that your router antenna needs to be replaced. Additionally, if your router antenna is physically damaged or broken, it is recommended to replace it to restore optimal performance.
Replacing the router antenna can improve signal strength, range, and overall network performance. It is a simple and cost-effective solution to enhance your wireless internet experience.
2. What are the steps to replace a router antenna?
To replace a router antenna, follow these steps:
1. Turn off your router and unplug it from the power source.
2. Locate the antenna connectors on your router. They may be labeled as “ANT” or “Wi-Fi”.
3. Gently unscrew the existing antenna by rotating it counterclockwise.
4. Align the new antenna with the connector and rotate it clockwise to secure it in place.
5. Repeat the same steps for any additional antennas your router may have.
6. After replacing the antennas, plug your router back in and turn it on.
3. Can I use any type of antenna to replace my router antenna?
It is recommended to use the same type of antenna that was originally supplied with your router. Different routers may have different antenna connectors and compatibility requirements. Using a compatible antenna ensures optimal performance and signal transmission.
If you are unsure about the type of antenna to use, consult the router’s manufacturer or refer to the router’s documentation for specific recommendations.
4. Are there any precautions I should take while replacing the router antenna?
When replacing a router antenna, it is important to ensure the router is powered off and unplugged from the power source. This helps prevent any electrical shock or damage to the router or antenna connectors.
Additionally, handle the antennas with care to avoid any physical damage. Avoid excessive bending or twisting of the antenna cables as it can impact signal transmission.
5. Will replacing the router antenna void my warranty?
It is best to check the warranty terms and conditions provided by the router manufacturer. In some cases, replacing the router antenna may void the warranty, while in others, it may be allowed as long as it is done properly and does not cause any damage to the router.
Before replacing the antenna, we recommend contacting the manufacturer or referring to the product documentation to understand the warranty implications.
If you want to replace the antenna on your router, follow these simple steps:
- Gently unscrew the existing antenna from the router.
- Take the new antenna and carefully screw it into the antenna port.
- Make sure it is securely tightened but avoid using excessive force.
- Orientation matters; position the antenna vertically for omnidirectional coverage or horizontally for stronger signal in one direction.
- Remember to adjust the router’s settings if needed for optimal performance.
By following these steps, you can easily replace the antenna on your router and enjoy improved wireless connectivity.
Leave a Reply