1. Connect your device to the Spectrum router’s network.
2. Open a web browser and enter “http://192.168.0.1” in the address bar.
3. Enter your Spectrum router’s username and password to login.
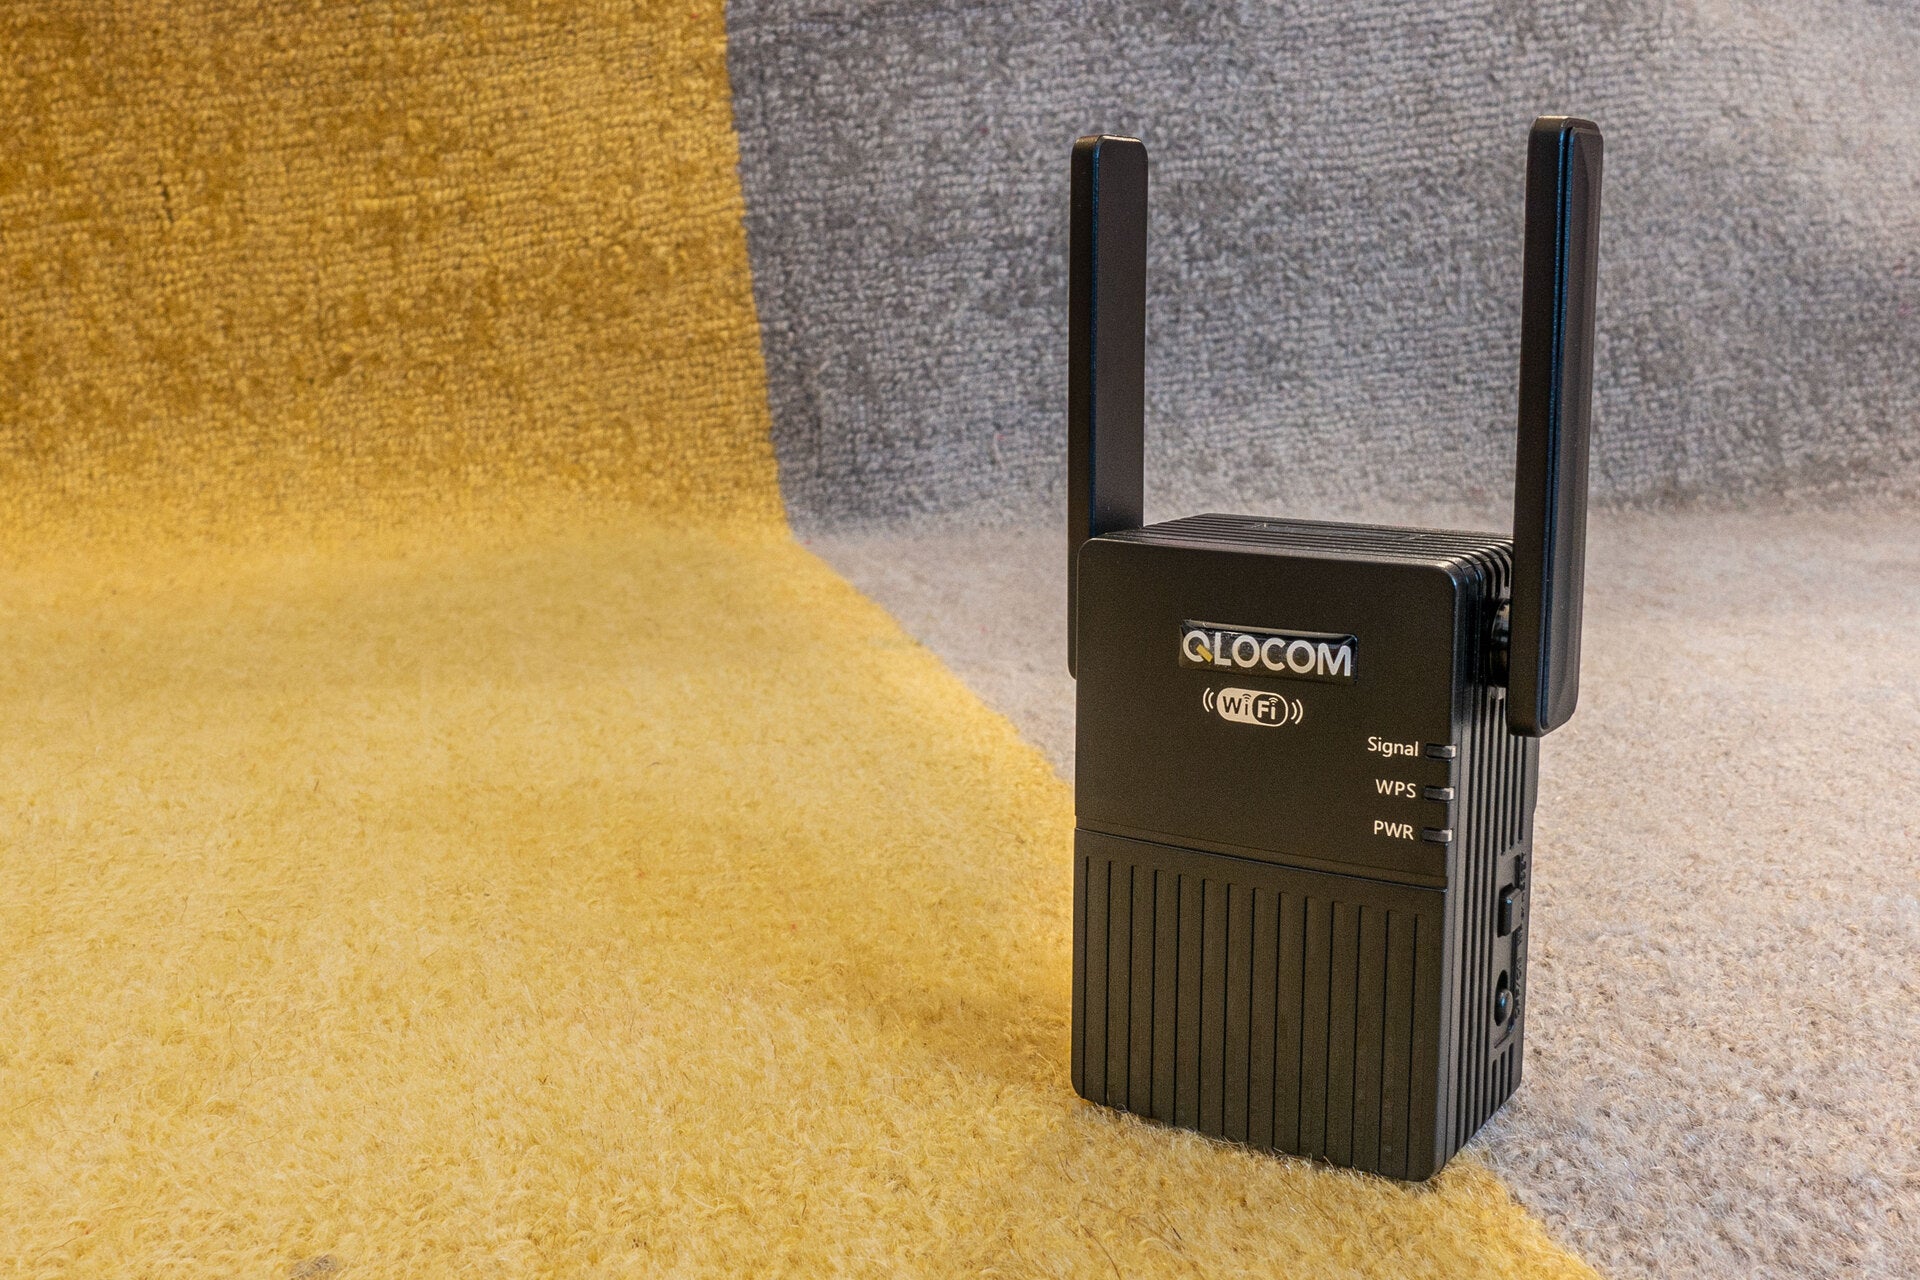
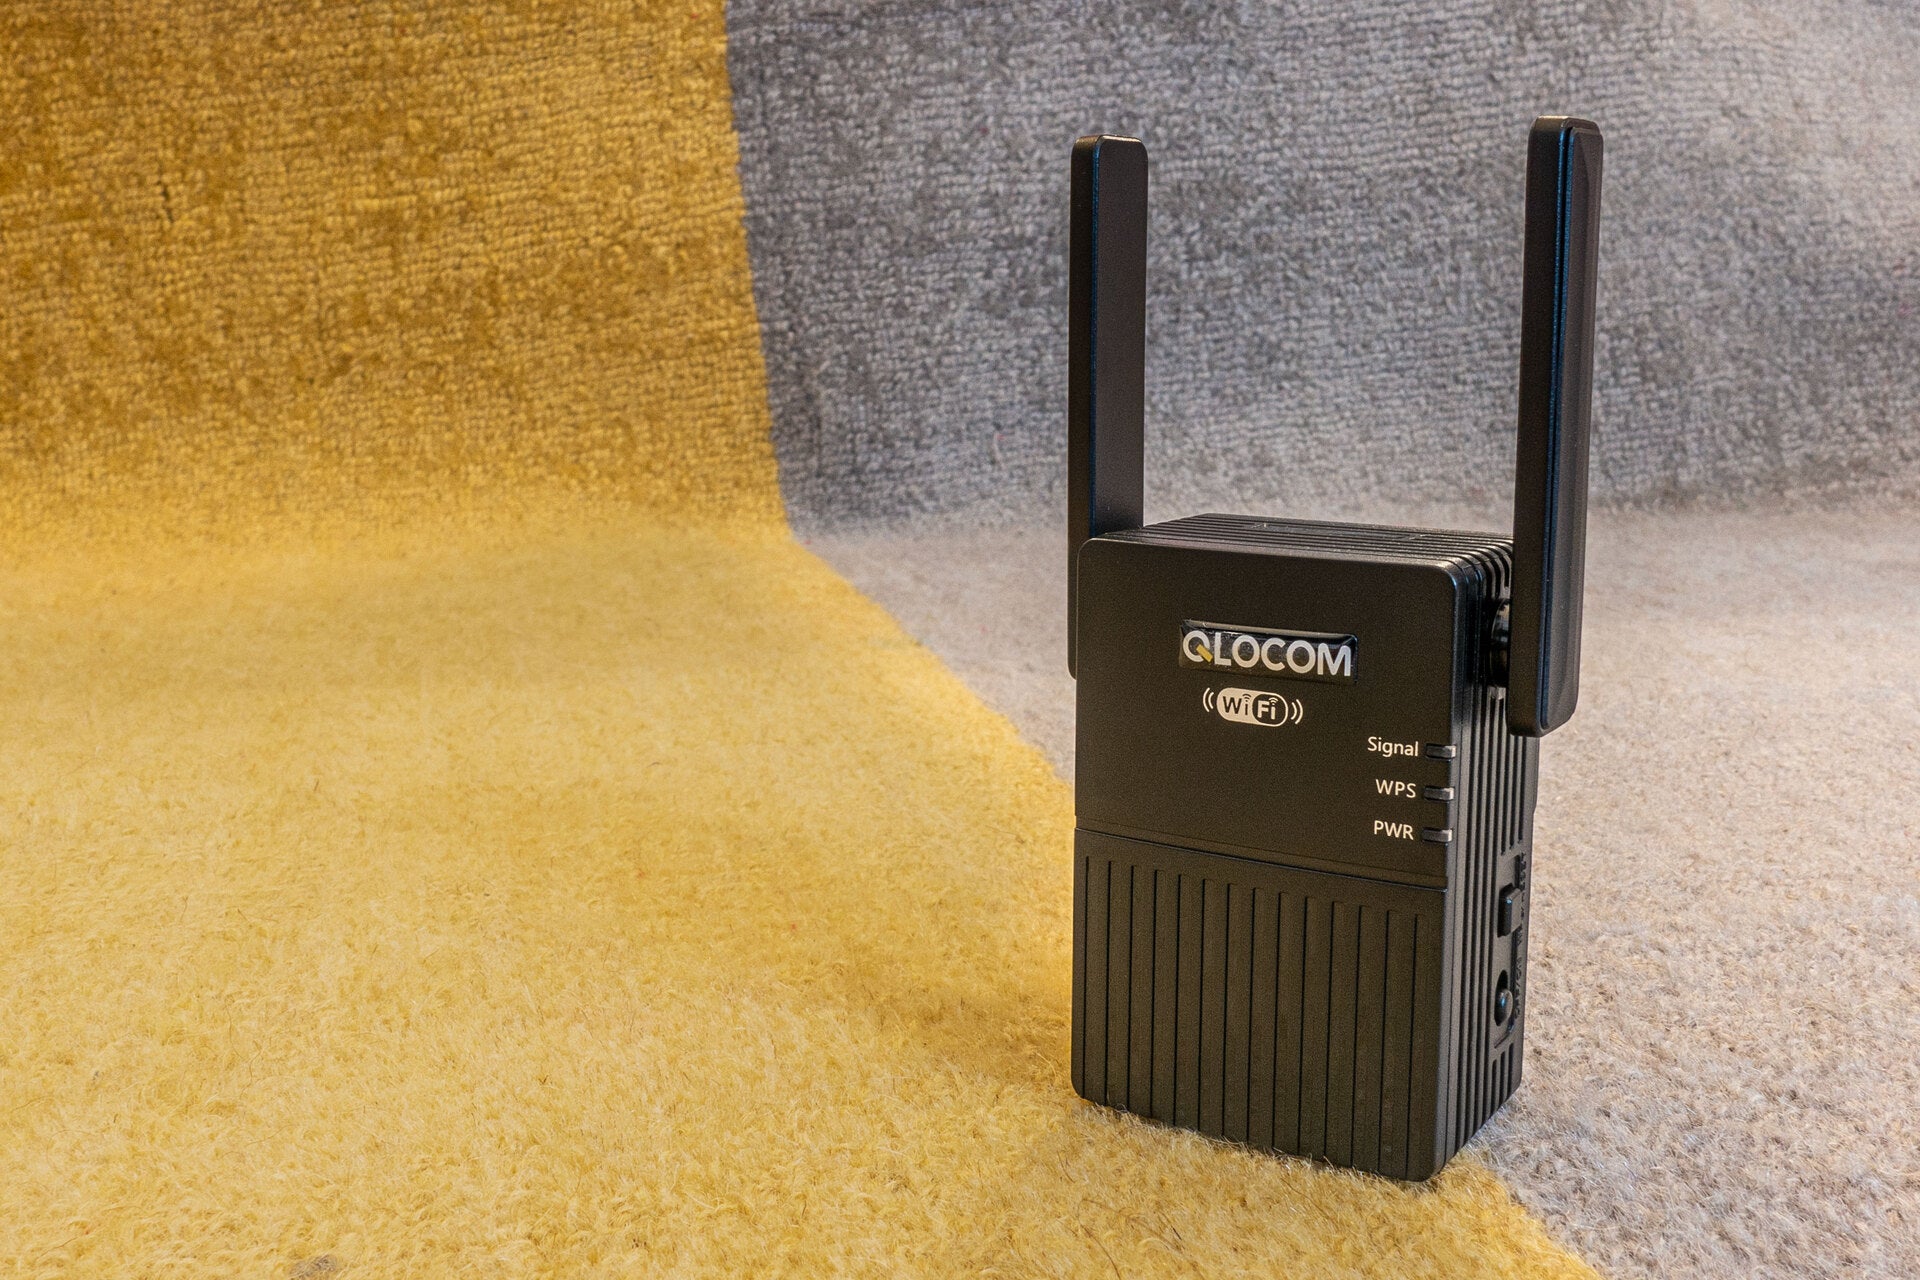
4. Locate the WPS button on the router and press it.
5. On your device, find the WPS connection option and select it.
6. Wait for the WPS connection to establish. You’re now connected!
Are you tired of dealing with the hassle of connecting all your devices to your Spectrum router? Are you looking for a simple and efficient way to set up WPS on your router? Look no further! In this guide, we will walk you through the step-by-step process of setting up WPS on your Spectrum router, allowing you to effortlessly connect all your devices with just a push of a button.
Setting up WPS (Wi-Fi Protected Setup) on your Spectrum router is the perfect solution for those who want to save time and effort in connecting their devices. With WPS, you no longer need to remember lengthy passwords or go through the tedious process of entering them on all your devices. By enabling WPS on your router, you can easily connect any device that supports WPS with just a simple push of a button. Whether it’s your laptop, smartphone, or gaming console, setting up WPS on your Spectrum router will make your life easier and more convenient. So, let’s dive into the process and get you connected in no time!

How to Setup WPS on Spectrum Router
Setting up WPS (Wi-Fi Protected Setup) on your Spectrum router is a convenient way to connect your devices to your home network quickly and securely. In this article, we will guide you through the step-by-step process of enabling and using WPS on your Spectrum router.
Step 1: Accessing the Router Settings
The first step is to access the settings of your Spectrum router. To do this, open a web browser on a device that is connected to your router’s network. In the address bar, type in the default IP address of your router, which is usually “192.168.1.1” or “192.168.0.1”. Press Enter to load the router’s login page.
Next, enter the username and password for your router. If you haven’t changed these credentials before, you can find them on a sticker attached to your router or in the documentation provided by Spectrum. Once you have entered the login details, click on the “Login” or “Submit” button to access the router settings.
Step 2: Enabling WPS
After successfully logging in to your router, you will be presented with the router’s settings interface. Look for the “Wireless” or “Wi-Fi” section and click on it to expand the options. Within this section, you should find the “WPS” option.
To enable WPS, simply click on the “Enable” or “On” button next to the WPS option. This will activate WPS on your router, allowing you to connect devices using the WPS method.
Step 3: Connecting Devices using WPS
Now that WPS is enabled on your Spectrum router, you can start connecting devices using the WPS method. On the device you want to connect, go to the Wi-Fi settings and look for the WPS option. This option is usually found in the advanced settings of the Wi-Fi menu.
Once you have located the WPS option on your device, click on it and select the “WPS Push Button” or “WPS PIN Entry” option. Depending on your device, you may need to follow different prompts to complete the connection process. If you choose the “WPS Push Button” option, press the WPS button on your Spectrum router within two minutes to establish the connection. If you choose the “WPS PIN Entry” option, you will need to enter the PIN displayed on your router’s settings interface.
Step 4: Verifying the Connection
After following the previous steps, your device should now be connected to your Spectrum router using WPS. To verify the connection, check the Wi-Fi icon or settings on your device. It should show that you are connected to your network.
Additionally, you can also check the router’s settings interface to see a list of connected devices. If your device is listed, it means the WPS connection was successful.
Step 5: Additional Settings and Troubleshooting
If you encounter any issues during the setup process or want to further customize your router’s settings, you can explore the different options available in the router settings interface. Some common settings you may want to configure include network name (SSID), wireless security, and guest network settings.
If you are experiencing difficulties with the WPS connection, make sure that your device and router are within close proximity during the setup process. Also, double-check that you are following the correct steps for your specific device model.
Step 6: Enjoy Your Secure and Convenient Wi-Fi
With WPS enabled on your Spectrum router, you can now easily connect your devices to your home network with just a push of a button or a simple PIN entry. Enjoy the convenience and security of WPS as you browse the internet, stream media, and connect with your smart devices.

Frequently Asked Questions
Welcome to our FAQ section on setting up WPS on your Spectrum router. If you’re looking for a quick and easy way to connect your devices to your router, WPS (Wi-Fi Protected Setup) is a great option. It allows you to securely connect your devices with the push of a button. Below, we’ve answered some common questions to help you get started.
1. How do I enable WPS on my Spectrum router?
To enable WPS on your Spectrum router, you’ll need to access its settings. Start by opening a web browser and entering the IP address of your router (usually 192.168.1.1 or 192.168.0.1) into the address bar. Log in to your router using the administrator username and password. Once logged in, navigate to the wireless settings section, where you should find an option to enable WPS. Save the changes, and you’re all set! Your Spectrum router should now have WPS enabled.
It’s worth noting that not all Spectrum routers support WPS. If you can’t find the WPS option in your router’s settings, it’s possible that your router model doesn’t have this feature. In that case, you may need to explore alternative methods of connecting your devices, such as manually entering the Wi-Fi password.
2. How do I connect a device to my Spectrum router using WPS?
Connecting a device to your Spectrum router using WPS is quick and easy. First, ensure that WPS is enabled on your router. Then, on your device, navigate to the Wi-Fi settings and look for the option to connect using WPS. Select this option, and your device will start searching for WPS networks. Within a couple of minutes, press the WPS button on your Spectrum router. This is often located on the back or side of the router and is labeled “WPS.” Your device should detect the router’s signal and establish a secure connection automatically.
Remember that the WPS button on your router needs to be pressed within a specific time frame, as indicated on your device’s screen. If the connection process times out, you may need to try again. Once connected, you can enjoy a secure and hassle-free connection to your Spectrum router without needing to manually enter the Wi-Fi password.
3. Can I use WPS to connect multiple devices to my Spectrum router simultaneously?
Yes, you can use WPS to connect multiple devices to your Spectrum router at the same time. WPS allows for simultaneous connections without compromising security. Each device will have its own unique connection established through the WPS process. This makes it convenient to connect multiple devices, especially when you have guests or need to connect new devices to your network quickly.
Keep in mind that the number of simultaneous WPS connections may vary depending on your router model. Some routers support a limited number of connections while others can handle more. Check your router’s user manual or the manufacturer’s website for specific information on the maximum number of concurrent WPS connections supported by your Spectrum router.
4. Is it possible to disable WPS on my Spectrum router if I no longer want to use it?
Yes, it is possible to disable WPS on your Spectrum router if you decide you no longer want to use it. Disabling WPS can be done through your router’s settings. Access the router’s admin interface by entering the IP address into a web browser and logging in with your administrator credentials. Once logged in, navigate to the wireless settings section and locate the option to disable WPS. Save the settings, and WPS will be deactivated on your router.
Disabling WPS is a personal choice and doesn’t affect the normal functioning of your router. If you prefer to manually enter the Wi-Fi password for each device, disabling WPS is an option. However, it’s worth noting that WPS can offer a convenient way to connect devices, particularly when you have guests or frequently add new devices to your network.
5. Are there any security risks associated with using WPS on my Spectrum router?
While WPS can provide a convenient way to connect devices, there are some security risks to consider. One vulnerability is the potential for unauthorized devices to gain access to your network if they can intercept the WPS signal. This is why it’s crucial to keep your router’s firmware up to date, as manufacturers often release updates to address security vulnerabilities.
Additionally, it’s recommended to use a strong Wi-Fi password alongside WPS to provide an extra layer of security. Even though devices connected via WPS don’t require the password, having a strong password can protect against unauthorized access attempts. It’s also important to disable WPS if you’re no longer using it to minimize any potential security risks.
In conclusion, setting up WPS on your Spectrum router is a simple and efficient way to connect your devices to your network. By following the step-by-step guide provided in this article, you can save time and effort in manually entering long and complex network passwords. With just a push of a button, you can securely connect your devices to your network and enjoy uninterrupted internet access.
Remember, while WPS provides convenience, it is important to prioritize security. Always ensure that your router’s firmware is up to date and that you have changed the default login credentials. Additionally, consider disabling WPS if you do not frequently connect new devices to your network. By taking these precautions, you can enjoy the benefits of WPS while maintaining the security of your home network.


Leave a Reply